Welcome to the world of DIY fireplace renovations! If you’re looking to revamp your fireplace in a modernized traditional style, using DIY tiles is the way to go. Transform your old, outdated fireplace into a stunning focal point in your home with this simple and cost-effective project. By adding your personal touch and creativity, you can achieve a beautiful and unique look that combines traditional warmth with a modern aesthetic. Say goodbye to boring brick or plain walls and say hello to a refreshed fireplace that showcases your individual style. Let’s get started on this exciting journey of revamping your fireplace with DIY tiles!
Revamp Your Fireplace in a Modernized Traditional Style with DIY Tiles
Have you ever looked at your outdated fireplace and wondered how you can bring it into the modern era while still maintaining a touch of tradition? Well, you’re in luck! In this article, we’ll show you how to revamp your fireplace using DIY tiles to give it a fresh, modernized traditional look. With a little creativity and some elbow grease, you can transform your fireplace into a stunning focal point that will enhance the overall aesthetic of your home.

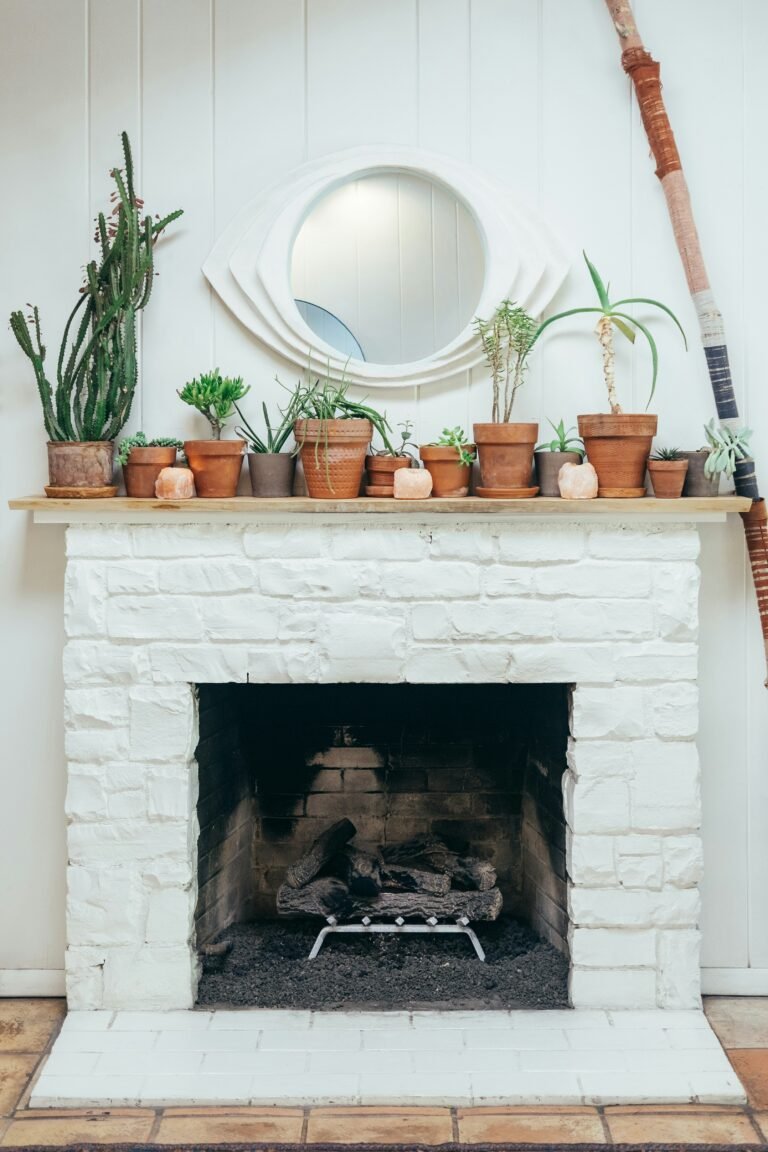
This image is property of pixabay.com.
Getting Started: Choosing the Right Tiles
Before you begin your fireplace makeover, the first step is to select the right tiles for the job. When choosing tiles for your fireplace, consider the style of your home, the color palette of the room, and your personal preferences.
You can choose from a variety of materials, such as ceramic, porcelain, glass, or stone. Each material has its own unique characteristics and can create a different look and feel for your fireplace.
For a modernized traditional style, consider classic subway tiles or intricate mosaics in neutral tones like white, gray, or beige. These timeless options will give your fireplace a sophisticated yet traditional vibe that will stand the test of time.
Pro Tip:
To help you decide on the right tiles, create a mood board with samples of different materials, colors, and patterns. This will allow you to visualize how each option will look in your space and make the decision-making process easier.
Preparing Your Fireplace for Tiling
Now that you’ve chosen the perfect tiles for your fireplace makeover, it’s time to prepare the surface for tiling. Start by cleaning the existing fireplace thoroughly to remove any dirt, dust, or debris.
Next, assess the condition of the fireplace surround and make any necessary repairs or updates. Fill in any cracks or holes with a suitable filler and sand down any rough areas to ensure a smooth surface for tiling.
Before you begin tiling, it’s important to apply a layer of primer to the fireplace surround to help the adhesive bond properly to the surface. This step will ensure that your tiles will adhere securely and will prevent them from shifting or cracking over time.
Pro Tip:
If your fireplace surround is made of a material that is not suitable for tiling, consider using tile backer board to create a suitable surface for the tiles to adhere to. This will ensure a long-lasting and durable finish for your fireplace makeover.
Upgrade Your Fireplace With These DIY Tiles
Installing the Tiles: Step-by-Step Guide
Now that your fireplace is prepped and ready for tiling, it’s time to get started on the installation process. Follow these step-by-step instructions to achieve professional-looking results:
-
Measure and Plan: Begin by measuring the dimensions of your fireplace surround and calculating the amount of tiles you’ll need.
-
Dry Lay the Tiles: Before applying adhesive, lay out the tiles on the fireplace surround to create a visual reference for the pattern and layout. Make any necessary adjustments to ensure a seamless and symmetrical design.
-
Apply Adhesive: Use a high-quality tile adhesive to secure the tiles to the fireplace surround. Apply the adhesive evenly using a notched trowel to ensure proper coverage and adhesion.
-
Set the Tiles: Place the tiles onto the adhesive in the desired pattern, using spacers to maintain even spacing between tiles. Press the tiles firmly into place to ensure a strong bond with the adhesive.
-
Grout the Tiles: Once the tiles are set and the adhesive has dried, remove the spacers and apply grout to the tile joints. Use a grout float to press the grout into the joints and smooth it out for a clean and polished finish.
-
Clean and Seal: Wipe off any excess grout with a damp sponge and allow the grout to cure according to the manufacturer’s instructions. Finish the installation by applying a sealer to the grout joints to protect your newly tiled fireplace from dirt and moisture.
Pro Tip:
To achieve a professional finish, use tile spacers to ensure even spacing between tiles and a tile cutter to make precise cuts for a seamless look. Don’t rush the installation process – take your time to ensure each tile is placed correctly for a flawless end result.
Adding the Finishing Touches
Now that your fireplace makeover is complete, it’s time to add the finishing touches to enhance the overall aesthetic of your fireplace. Consider the following design elements to elevate the look of your modernized traditional fireplace:
- Mantel: Install a stylish mantel above your fireplace to create a focal point and display decorative objects or family photos.
- Accessories: Add accessories like a fireplace screen, tools, or decorative accents to complement the design of your fireplace.
- Lighting: Install sconces or a picture light above your fireplace to illuminate the space and highlight the beauty of your newly tiled surround.
By incorporating these design elements, you can create a cohesive and visually appealing fireplace that will become the centerpiece of your living room and a reflection of your personal style.
Pro Tip:
To maintain the cleanliness and longevity of your newly tiled fireplace, regularly clean and dust the tiles to remove any dirt or debris. Avoid using harsh chemicals or abrasive cleaners that can damage the tiles and grout.
Conclusion
Revamping your fireplace in a modernized traditional style with DIY tiles is a rewarding project that can transform the look and feel of your living space. By following the steps outlined in this article and incorporating your own personal touches, you can create a stunning focal point that adds warmth, style, and character to your home.
So, what are you waiting for? Roll up your sleeves, gather your materials, and start your fireplace makeover today. With a little creativity and effort, you can achieve a truly remarkable transformation that will make your fireplace the envy of all your guests. Happy tiling!


