Have you ever dreamt of cozying up by a crackling fireplace on a chilly winter night? Well, now you can bring that dream to life by building your own DIY fireplace from scratch. In this article, we will guide you through the step-by-step process of constructing a beautiful fireplace, right from the ground up. Whether you’re a seasoned DIY enthusiast or a beginner looking for a new project, this comprehensive guide will help you create a warm and inviting centerpiece for your home. So roll up your sleeves and get ready to unleash your inner craftsman as we embark on this exciting journey together.
This image is property of images.unsplash.com.
Step-by-Step Guide To Building A DIY Fireplace
Planning
When embarking on the journey of building your very own DIY fireplace, there are several important factors to consider. The first step is to determine the location of your fireplace. Think about where you want it to be situated and what purpose it will serve. Will it be a focal point in your living room or a cozy addition to your outdoor patio?
Once you’ve finalized the location, it’s time to think about safety precautions. Fireplaces can pose potential risks, so it’s important to take necessary safety measures. Consider installing fire-resistant materials around the fireplace and ensure proper ventilation to prevent the buildup of harmful gases.
Choosing the right size and style of your fireplace is another crucial aspect of the planning process. Determine how much space you have available and what type of design aesthetic you want to achieve. This will help guide your decisions when it comes to selecting materials and constructing your fireplace.
Gathering Materials
Before you can begin construction, you’ll need to gather all the necessary materials and tools. Start by considering the materials for the firebox itself. Firebricks are typically used due to their ability to withstand high temperatures. Additionally, you’ll need materials for the fireplace surround, such as stone, brick, or tile, depending on your desired style.
Don’t forget about safety materials! This includes fire-rated drywall, fire-resistant insulation, and heat-resistant paint or sealant. These materials will help ensure the safety of your fireplace and the surrounding area.
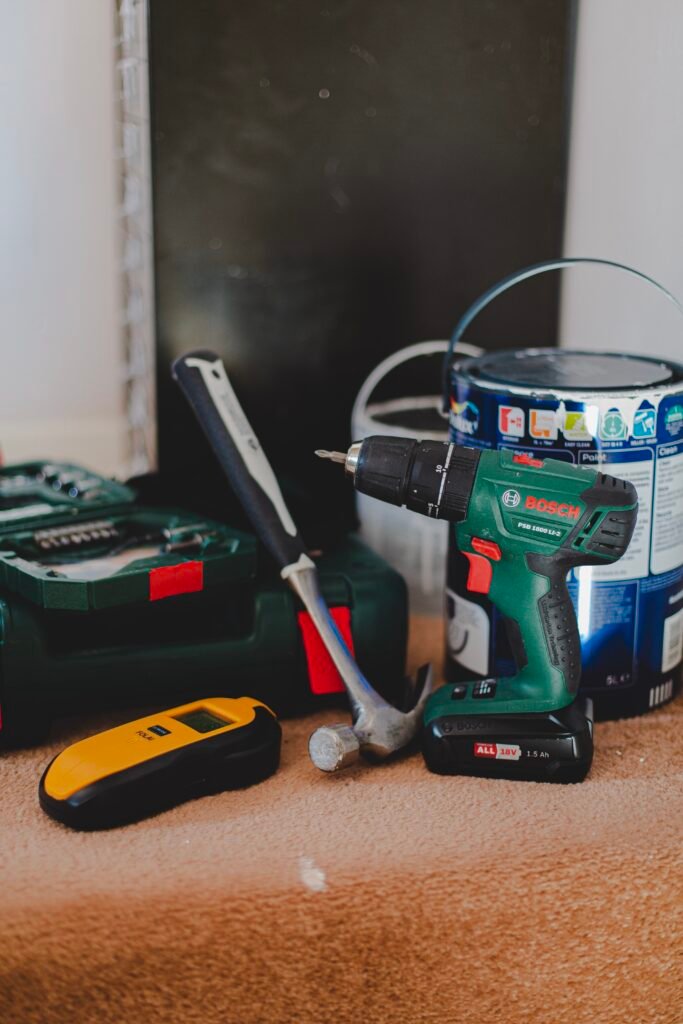
Lastly, make sure you have all the tools and equipment required for the construction process. This may include a masonry saw, trowels, levels, mortar mix, and a drill. Having the right tools at hand will make the building process much smoother.
Create Your Own Fireplace With These Easy Steps
Preparing the Site
Before you can start building your DIY fireplace, it’s essential to properly prepare the site. Begin by clearing the area where the fireplace will be located. This includes removing any debris or vegetation that may be in the way. A clear and well-prepared site will make construction easier and safer.
Next, check your local regulations and obtain any necessary permits. Building codes may vary depending on your location, so it’s important to ensure compliance before proceeding with your construction project. This will prevent any potential legal issues down the line.
Preparing the foundation is the final step in site preparation. Depending on the size and weight of your fireplace, you may need to excavate and pour a concrete foundation. This will provide a stable and secure base for your fireplace.
Constructing the Firebox
The firebox is the heart of your fireplace, where the fire will be contained and enjoyed. Start by choosing a firebox design that suits your needs and preferences. This can range from a traditional square-shaped firebox to a more modern and unique design.
Once you’ve decided on the design, begin constructing the firebox base. Lay a solid foundation using concrete or fire-rated bricks. This will provide stability and support for the firebox structure.
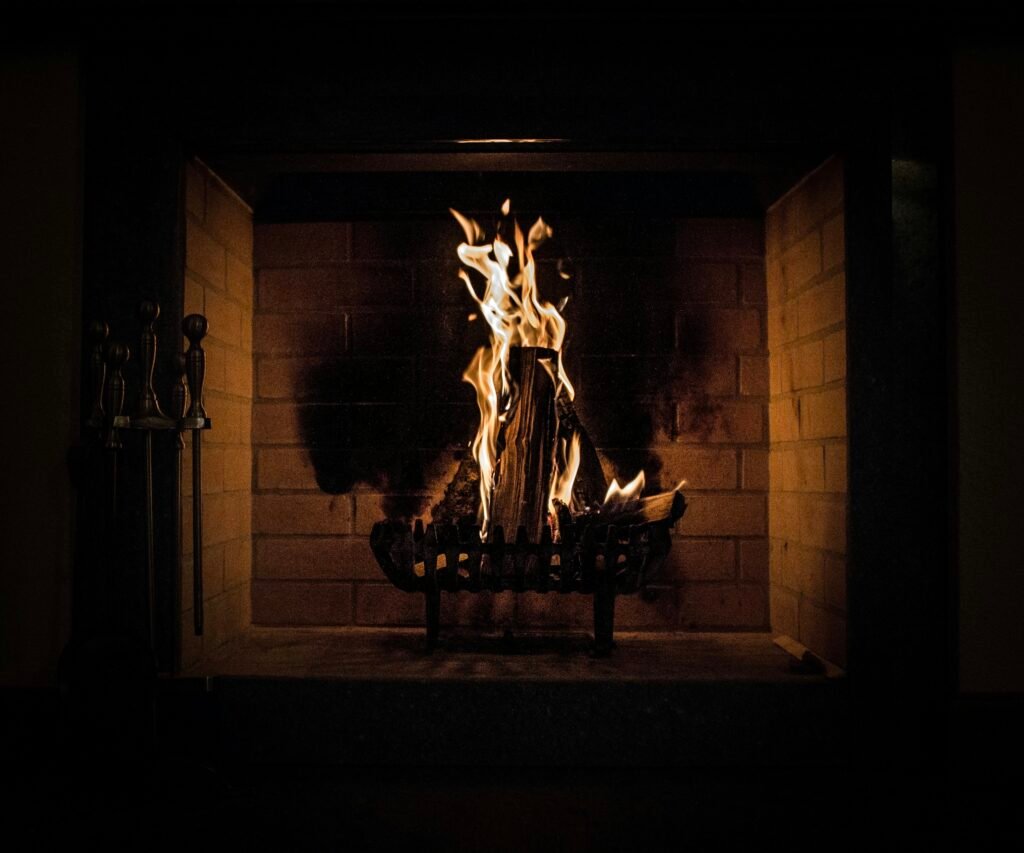
Next, it’s time to lay the firebrick walls. Firebricks are designed to withstand high temperatures and provide excellent heat retention. Use a mortar mix specifically designed for fireplaces to securely bond the bricks together. This will form the walls of the firebox, ensuring durability and longevity.
Lastly, create the fireplace opening. This is where the fire will be visible and where you’ll feel the warmth. Carefully measure and cut the bricks to create the desired opening size. Remember to consider safety regulations regarding the size and location of the opening.
This image is property of images.unsplash.com.
Building the Fireplace Surround
Now that the firebox is complete, it’s time to focus on the fireplace surround. The surround is the outer structure of the fireplace, adding both functionality and aesthetic appeal. Start by choosing a surround design that complements your overall vision.
Construct a support structure for the surround using metal or wooden studs. This will provide stability and ensure that the surround is securely attached to the wall. Depending on your chosen materials, you may need to add additional supports or brackets.
Install the facing materials onto the support structure. This can be stone, brick, tile, or any other material that suits your desired style. Make sure to follow the manufacturer’s instructions and use proper adhesive or mortar to secure the facing materials in place.
Once the facing materials are installed, it’s time to add the final touches to your fireplace surround. This may include adding decorative elements such as trim, molding, or mantel shelves. These finishing touches will give your fireplace a polished and complete look.
Installing Ventilation
Proper ventilation is essential for the safe and efficient operation of your fireplace. There are different types of ventilation systems to consider, including natural ventilation, direct venting, or a chimney. Each system has its own advantages and requirements, so choose the one that best fits your needs.
Determine the venting requirements based on the type of fireplace you have chosen. This includes considering the size and height of the chimney or the specifications for a direct venting system. It’s crucial to follow the manufacturer’s guidelines to ensure proper ventilation and prevent any harmful gases from entering your home.
Once you have determined the type and requirements, proceed with the installation process. This may involve constructing a chimney, installing a flue, or connecting the fireplace to a direct vent system. Be sure to consult a professional if you are unsure about the installation process.
Testing the ventilation system is crucial to ensure proper airflow and the safe operation of your fireplace. Light a small fire and observe the smoke. If it is drawing up the chimney or venting system correctly, then your ventilation is working effectively. If not, consult a professional to address any issues.
This image is property of images.unsplash.com.
Adding Safety Features
When building a DIY fireplace, it’s important to prioritize safety. There are several safety features you should consider to protect yourself, your home, and your loved ones.
Installing a chimney cap is essential to prevent debris, animals, and rain from entering the chimney. A chimney cap will also help to minimize downdrafts and maintain proper airflow.
Including a spark arrestor is another important safety measure. A spark arrestor prevents sparks and embers from escaping the chimney and potentially causing a fire hazard.
Adding a hearth or fire-resistant surround around the fireplace is crucial for protecting the surrounding area from damage or accidents. A hearth acts as a barrier between the fire and the floor, reducing the risk of accidental fires.
Lastly, installing a carbon monoxide detector is highly recommended. Carbon monoxide is a colorless and odorless gas that can be emitted during the combustion process. A carbon monoxide detector will alert you if levels become dangerous, ensuring the safety of everyone in your home.
Choosing and Installing a Fireplace Door
A fireplace door not only enhances the appearance of your fireplace but also serves as an added safety feature. There are different types of fireplace doors to choose from, including glass doors, mesh doors, or a combination of both.
To ensure the correct fit, carefully measure the dimensions of your fireplace opening. This will help you select the appropriate door size. Always refer to the manufacturer’s instructions for specific measuring guidelines.
Begin by installing the door frame according to the manufacturer’s instructions. This may involve attaching brackets or hinges to the firebox and surrounding structure. Make sure the frame is securely fastened for proper operation and safety.
Attach the door to the frame using the provided hardware and adjust it as needed. The door should open and close smoothly and have a tight seal when closed. A well-fitted door will help to control the airflow and increase the overall efficiency of your fireplace.
Fireplace Mantel and Hearth
The fireplace mantel and hearth are the finishing touches that add character and style to your DIY fireplace. Choosing the right materials for the mantel and hearth is crucial to achieve the desired aesthetic.
Select materials for the mantel and hearth that match your overall design concept. This can be wood, stone, or even reclaimed materials for a more rustic look. Ensure that the chosen materials are fire-resistant and meet safety regulations.
Measure the dimensions of your fireplace to determine the appropriate size for the mantel. Install the mantel securely, using brackets or anchors to attach it to the wall. Make adjustments as necessary to ensure it is level and properly aligned.
Constructing the hearth involves creating a raised platform or extension in front of the fireplace. This will provide additional protection and enhance the overall appearance. Follow the manufacturer’s guidelines for constructing a fire-resistant hearth, ensuring it is secure and level.
To add decorative elements, consider incorporating artwork, mirrors, or personal mementos above the mantel. This will give your fireplace a personal touch and make it a focal point of the room.
Finishing and Decorative Touches
Once the construction is complete, it’s time to add the finishing touches and make your DIY fireplace truly your own. Begin by ensuring that the firebox and surround are properly finished. You can choose to paint or stain the materials to match your existing decor or leave them as is for a natural look.
Consider adding accessories to enhance the functionality and aesthetics of your fireplace. This may include fireplace tools, log holders, or decorative screens. Choose accessories that fit your personal style and will be useful for maintaining and enjoying your fireplace.
Enhance your fireplace with decor and personal touches that reflect your individuality. This can include artwork, candles, or seasonal decorations that create a warm and inviting atmosphere. Let your creativity shine and make your DIY fireplace a reflection of your personal style.
With careful planning, proper materials, and attention to detail, you can successfully build a DIY fireplace from scratch. Remember to prioritize safety, follow manufacturer’s guidelines, and consult professionals when needed. Enjoy the warmth and beauty of your very own handmade fireplace that will bring joy and comfort for years to come.
